

Fun tags to make for Halloween!

Halloween Tags
Last year I posted about how to make Black Potion Bottles. They are super easy to make – and cheap! These were made with dollar store containers. Anyway, I did make some ragged looking tags for more of a spooky twist, you can check them out here. But after a little while I decided I wanted to make more fun – and colorful – tags to go with these jars.

Candy Tag
Supplies Used:
- Stampin’Up! Tags Tags Tags stamp set and coordinating dies
- Sizzix thinlits – Jim Holtz Stacked Baroque Dies
- Stickles
- Black ink
- Cardstock: orange, green, yellow, tan
- Scrap Halloween paper
- Bakers Twine
How To:
- Stamp ‘it’s all about the candy’ stamp or cream cardstock, cut out with coordinating die and edge with black marker.
- Cut out 2 jack-o’-lanterns out of scrap piece of orange cardstock.
- Cut 2 small yellow circles out, glue to back of orange jack-o’-lanterns.
- Cut Baroque die out of scrap piece of Halloween paper, edge with black marker.
- Cut piece of green cardstock 1×3 inches. Notch ends.
- Cut 1 1/2 inch circle and punch 2 holes in it. Thread bakers twine through the holes and clue circle to the back of the Halloween paper.
- Using foam dots attach the green cardstock. Use Stickles to make glitter lines on the green.
- Using foam dots, attach the It’s all about the candy die cut and attach the 2-orange jack-o’-lanterns.
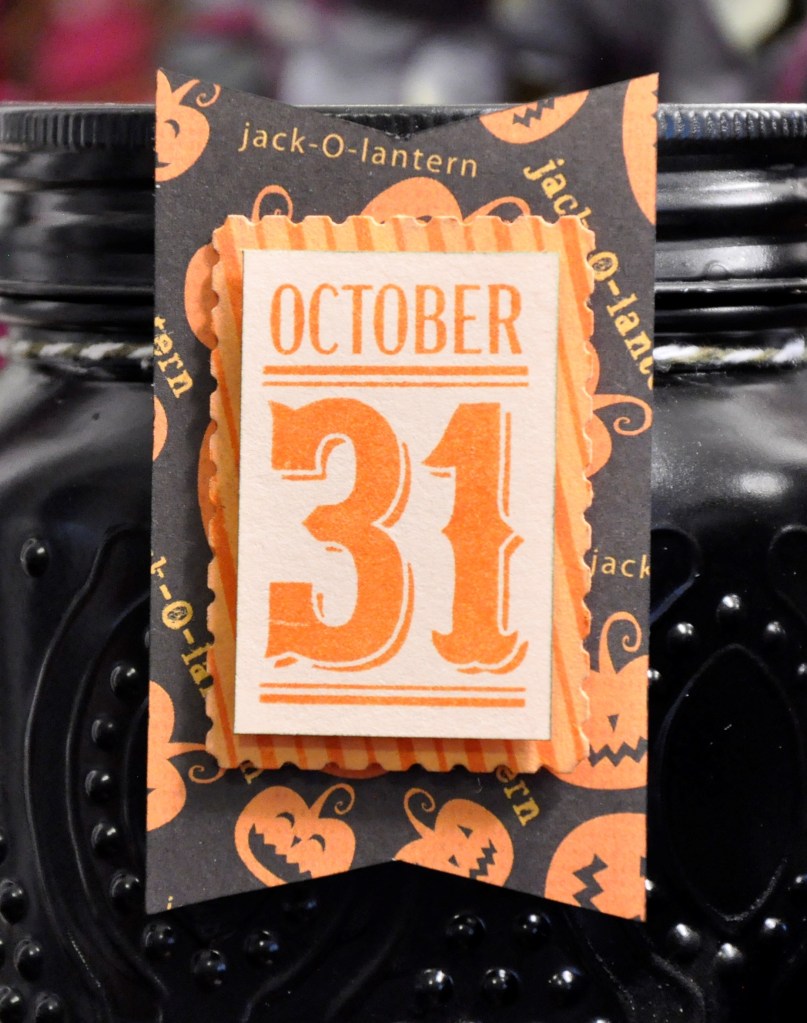
October 31st Tag
Supplies Used:
- Stampin’Up! Festive Post stamp set and coordinating punch
- Scrap piece of Halloween paper
- Cardstock: tan, orange
- Ink: orange
- Bakers Twine
How To:
- Cut a piece of scrap Halloween paper to 1 3/4 x 3. Notch ends, edge in black, and punch 2 small holes in middle of paper. Thread bakers’ twine thru.
- Stamp diagonal lines onto piece of scrap orange cardstock, punch out with postage stamp punch.
- Using foam dots attach orange to Halloween paper.
- Stamp October 31stamp onto scrap piece of cream in orange, cut out slightly larger then image. Edge with green marker.
- Using foam dots attach October 31 piece on top of orange piece.
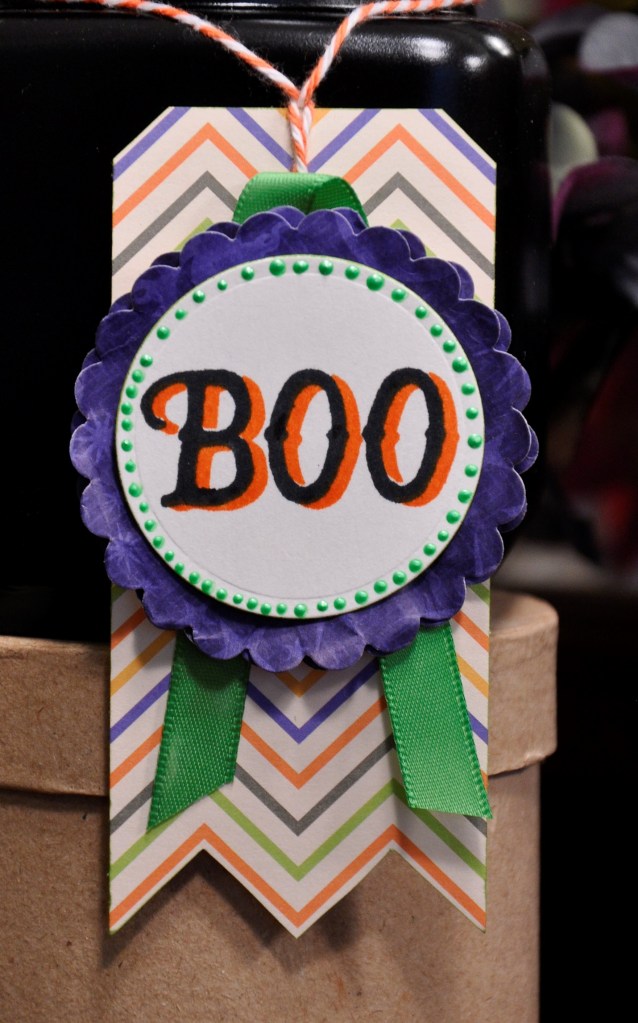
Boo Tag
Supplies Used:
- Stampin’Up! Warm Hearted stamp set
- Cardstock: white
- Scrap pieces of Halloween Cardstock
- Ink: black, orange
- 1/2-inch green ribbon
- 2 inch circle die
- 2 1/2-inch scallop circle die
- Green Liquid pearls
How To:
- Stamp Boo stamp in Black ink on cream cardstock. Stamp shading in orange. Cut out with 2 inch circle die.
- Cut 2 scallop circles out of purple Halloween paper. Slip thru crimper, and glue together.
- Cut 2 x 4 1/2 inch piece of Halloween paper for base (Mine had chevrons on it and I cut with the design to give interest.), edge with green marker. Punch hole at top and add baker’s twine.
- Cut 7 inch piece of green ribbon and adhere to base. Using foam dots add 2 scalloped circles.
- Using foam dots adhere the stamped circle.
- Using green Liquid Pearls add ‘dots’ around circle on edge.
-Dawn
Discover more from
Subscribe to get the latest posts sent to your email.

